 Trusted Shops: 4.84/5,00 (10085)
What should you consider when tuning a drum kit?
Get your drum kit in tune! On the following pages we cover the topic of drum tuning. This includes, besides the tuning itself, an introduction to drumheads: we present the different types and their tonal characteristics and give you tips and tricks for changing heads.


Batter and resonant heads
There are hundreds of different heads with varying diameters, thicknesses and colours. The most important distinction, however, is between batter and resonant heads. The batter head sits on the top/front of the drum and is played directly with the sticks. Batter heads are therefore also called “batter” in English (from “to strike”). The resonant head on the underside/back of the drum also contributes to the sound but is not played. Batter heads have to withstand much more than resonant heads, so they are often thicker and need to be changed more frequently.
Tip: Determining head size
The head size is given as the diameter in inches (or the symbol: "). If you no longer know the size of your drum, all you need is a tape measure or metre stick, a calculator and the following conversion to calculate the size in inches. By the way, measure always at the inner edges of the metal hoop that clamps the head.
1 inch = 2.54 cm
Measure the diameter in cm and divide it by 2.54 to get the measurement in inches. Example: You measure about 35.6 cm for your snare head:
35.6 ÷ 2.54 = 14.015
You need a snare head with a diameter of 14 inches.


Head types
Whether for the bass drum, snare or toms, there are different types of heads for each drum. The easiest distinction is between Clear (smooth and transparent) and Coated. Among coated heads you'll find further variants nowadays, e.g. Onyx heads with black coating or the slightly thinner and more transparent coated Etched heads. The coating makes the head more durable. The sound is slightly darker than with clear heads and the tone is a bit shorter. Neither type is inherently better or worse — it depends on your taste and the music you play. At the end of this guide you'll find an overview where you can compare all properties at a glance. The second big difference is between single-ply and two-ply heads. This is harder to recognise. With two-ply clear heads you can see a rainbow-like iridescence caused by the light refraction of the two different head layers.
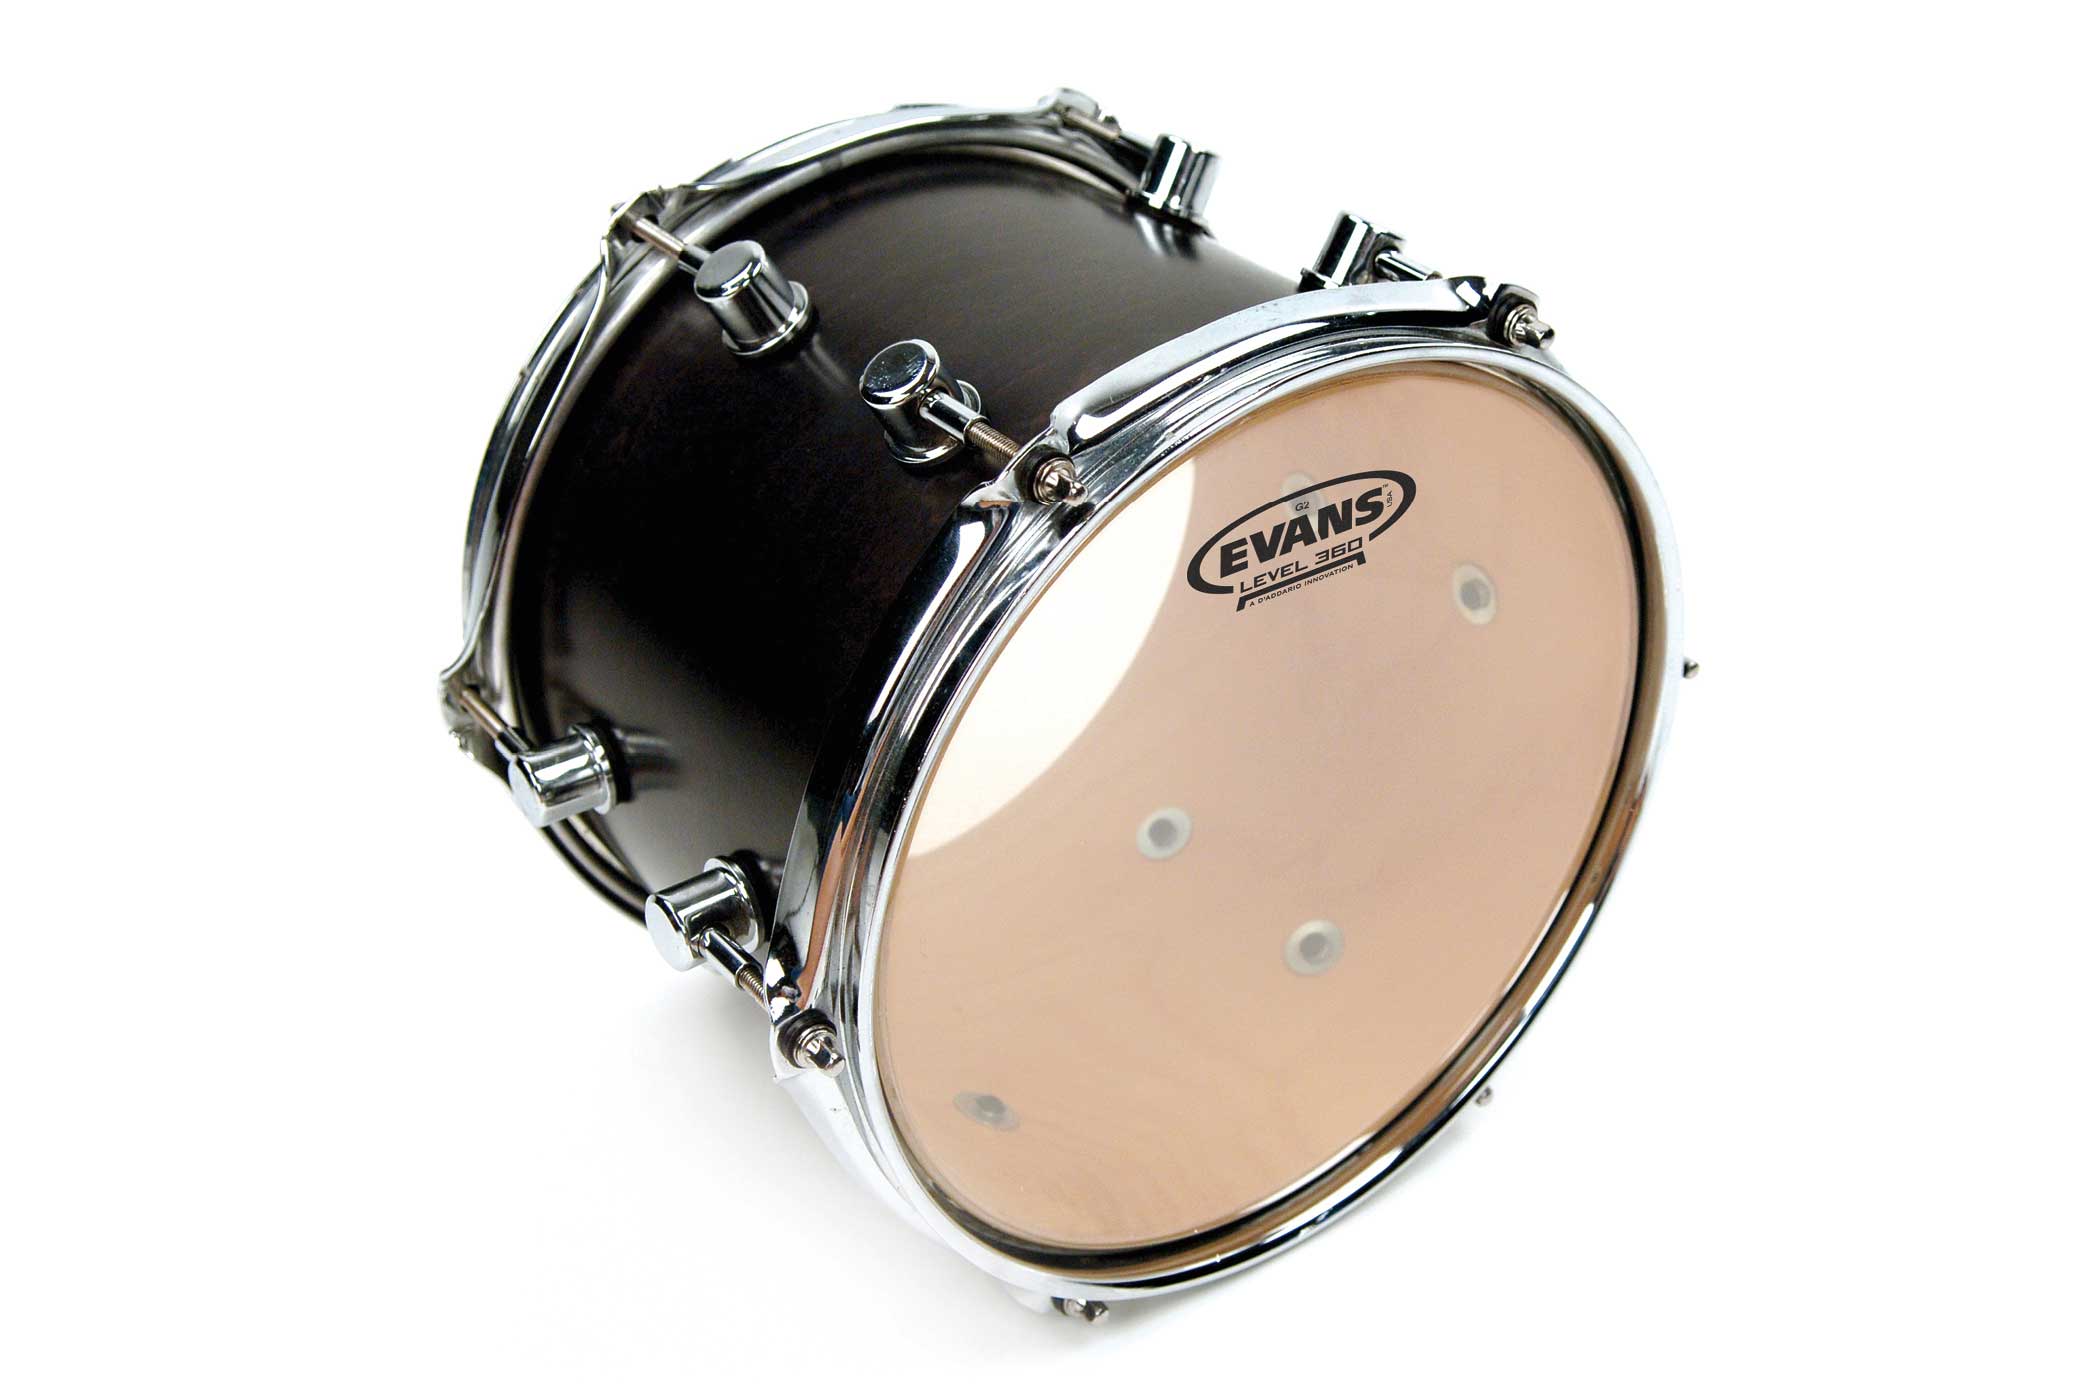 | 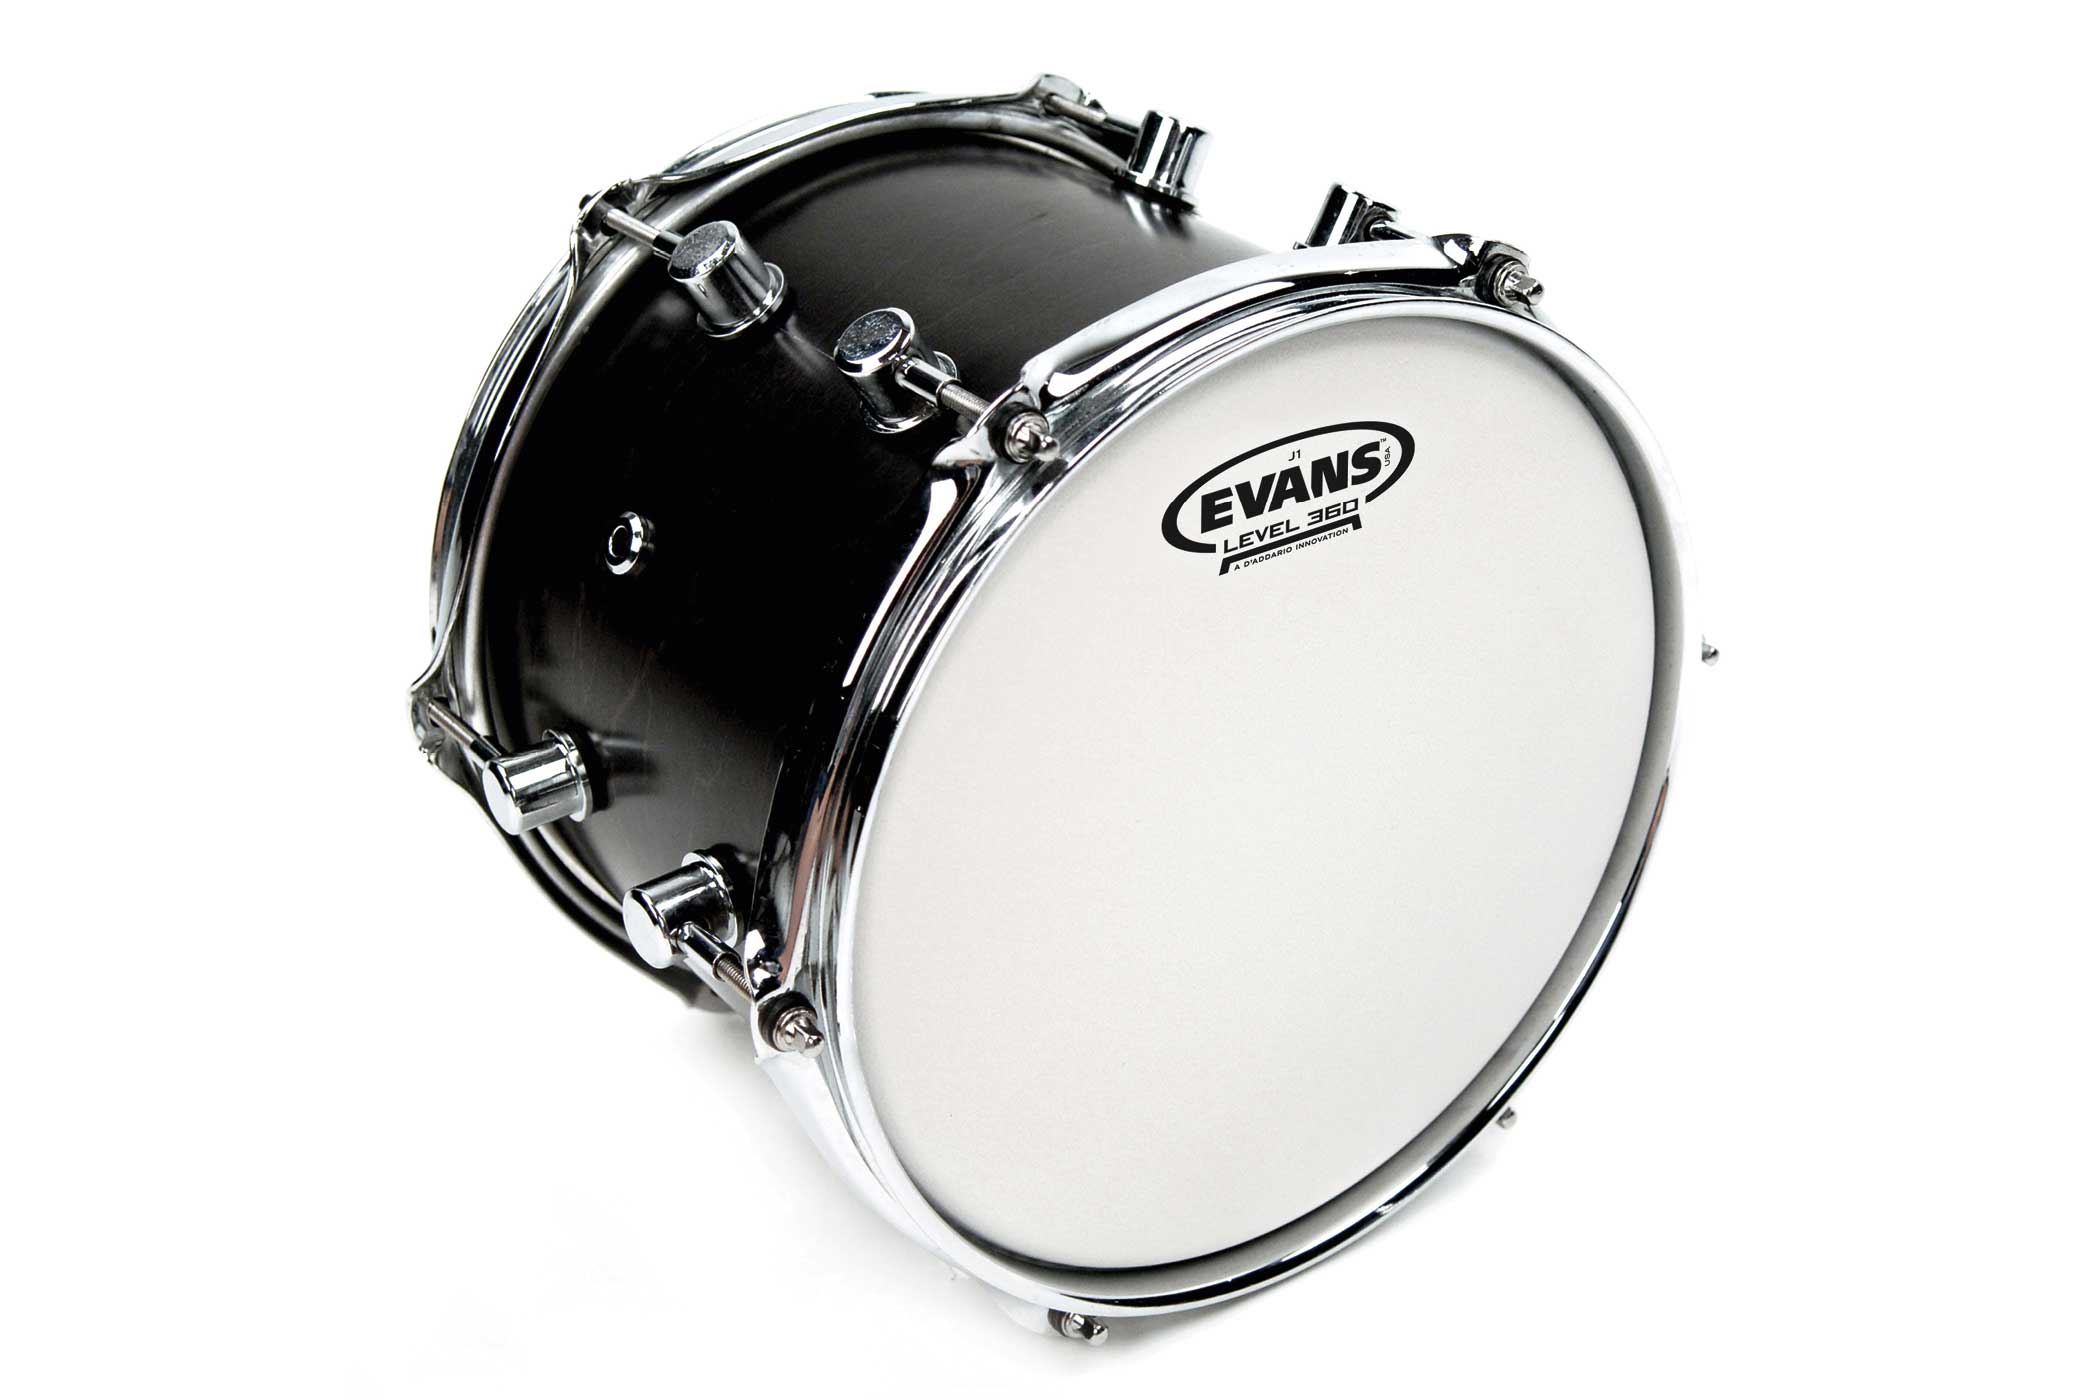 |
| Clear (smooth and transparent) | Coated (coated) |
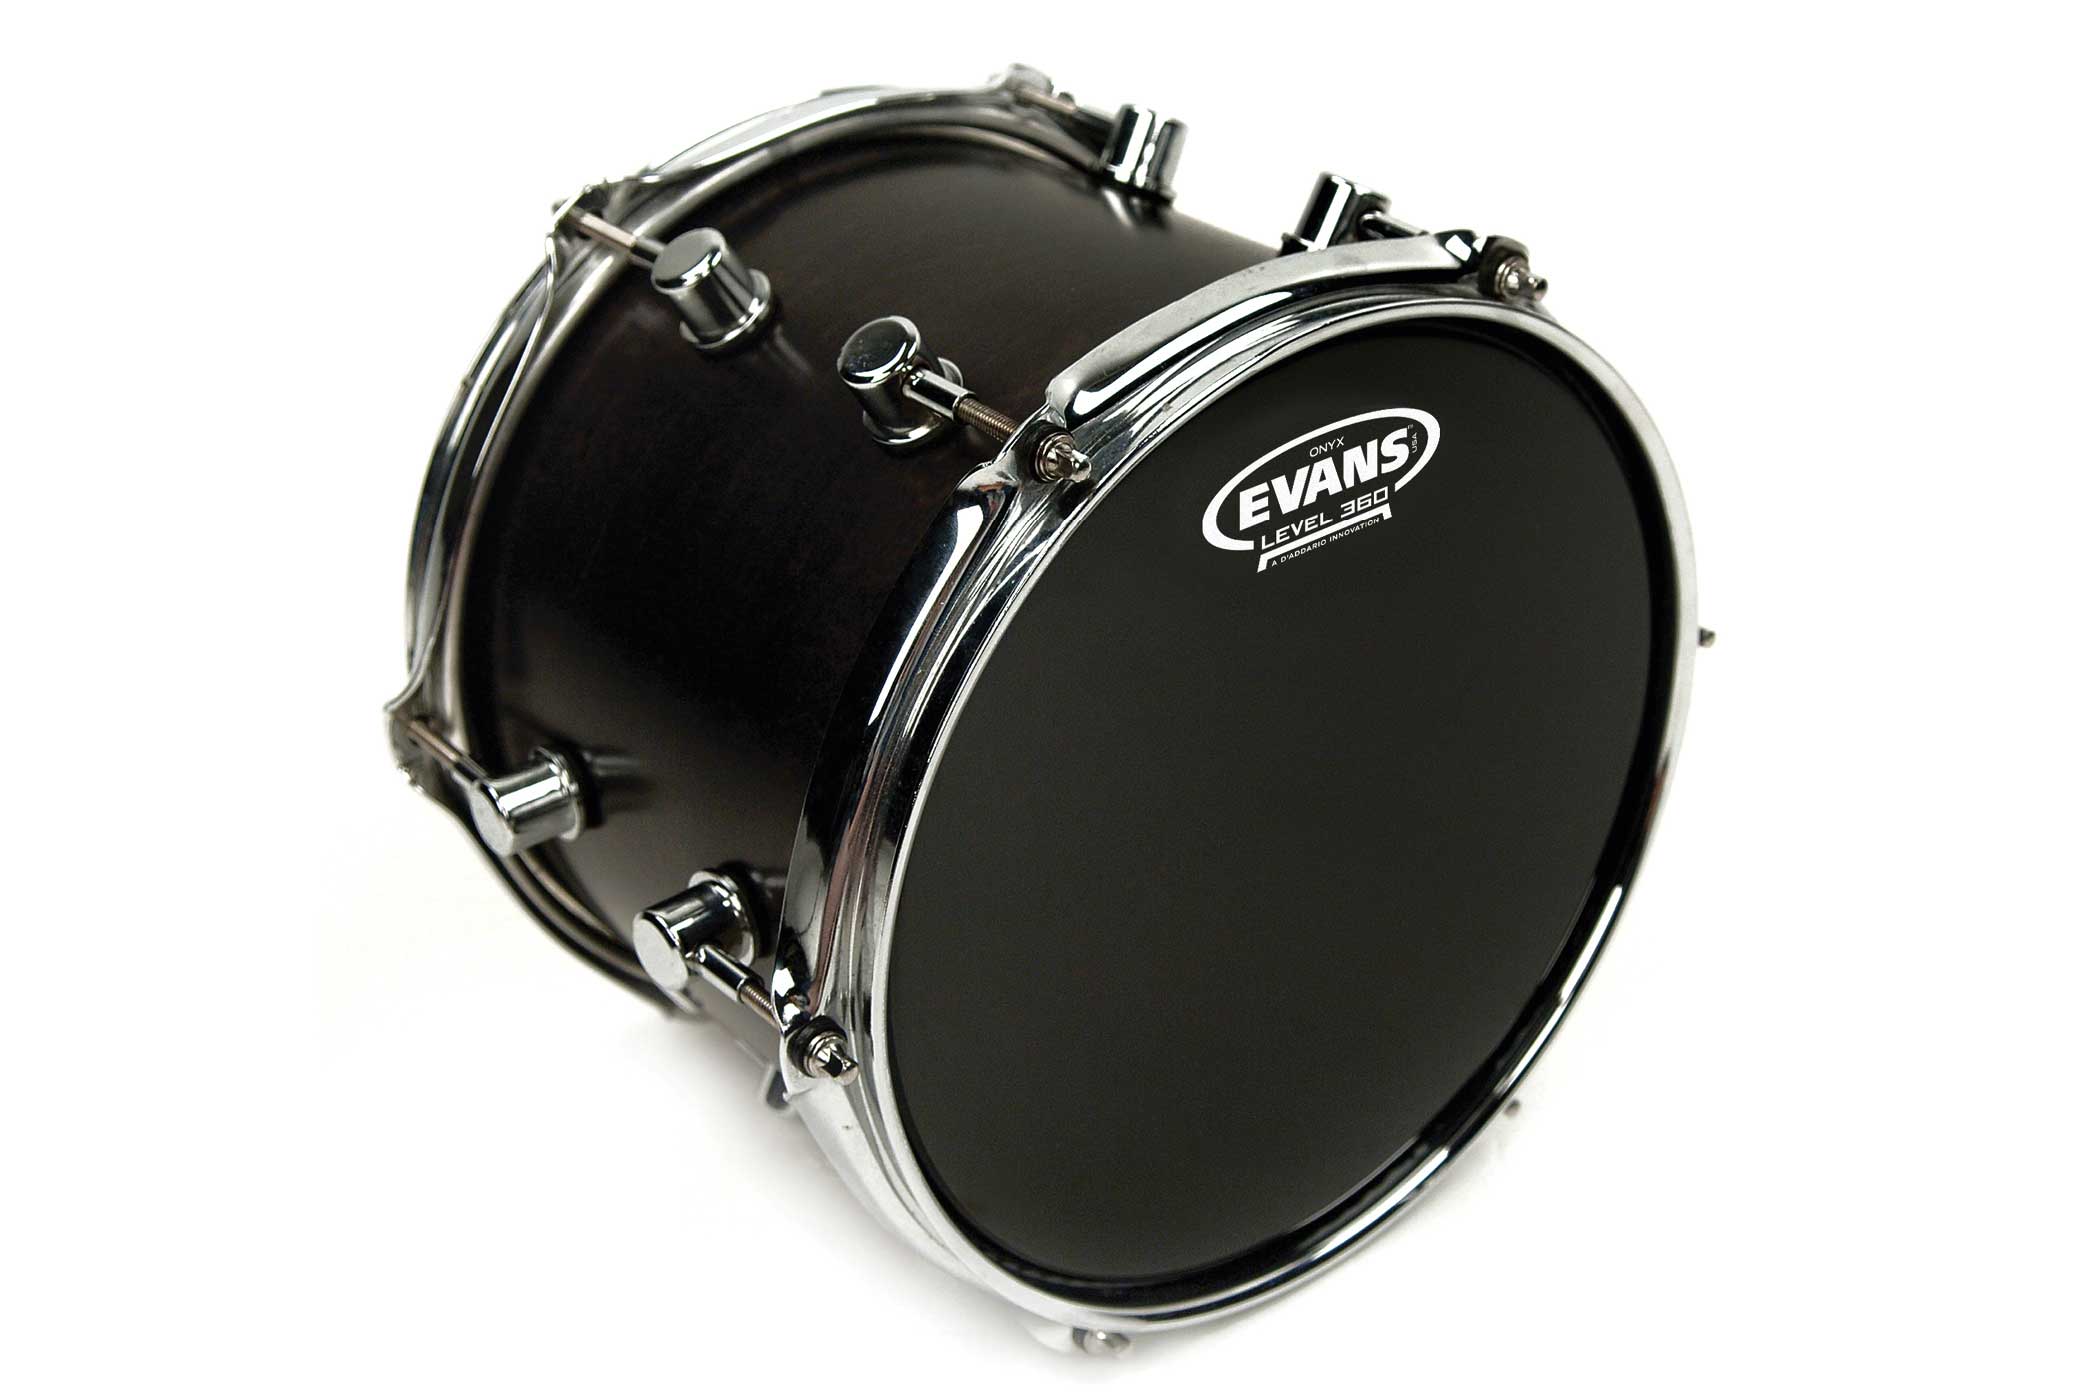 | 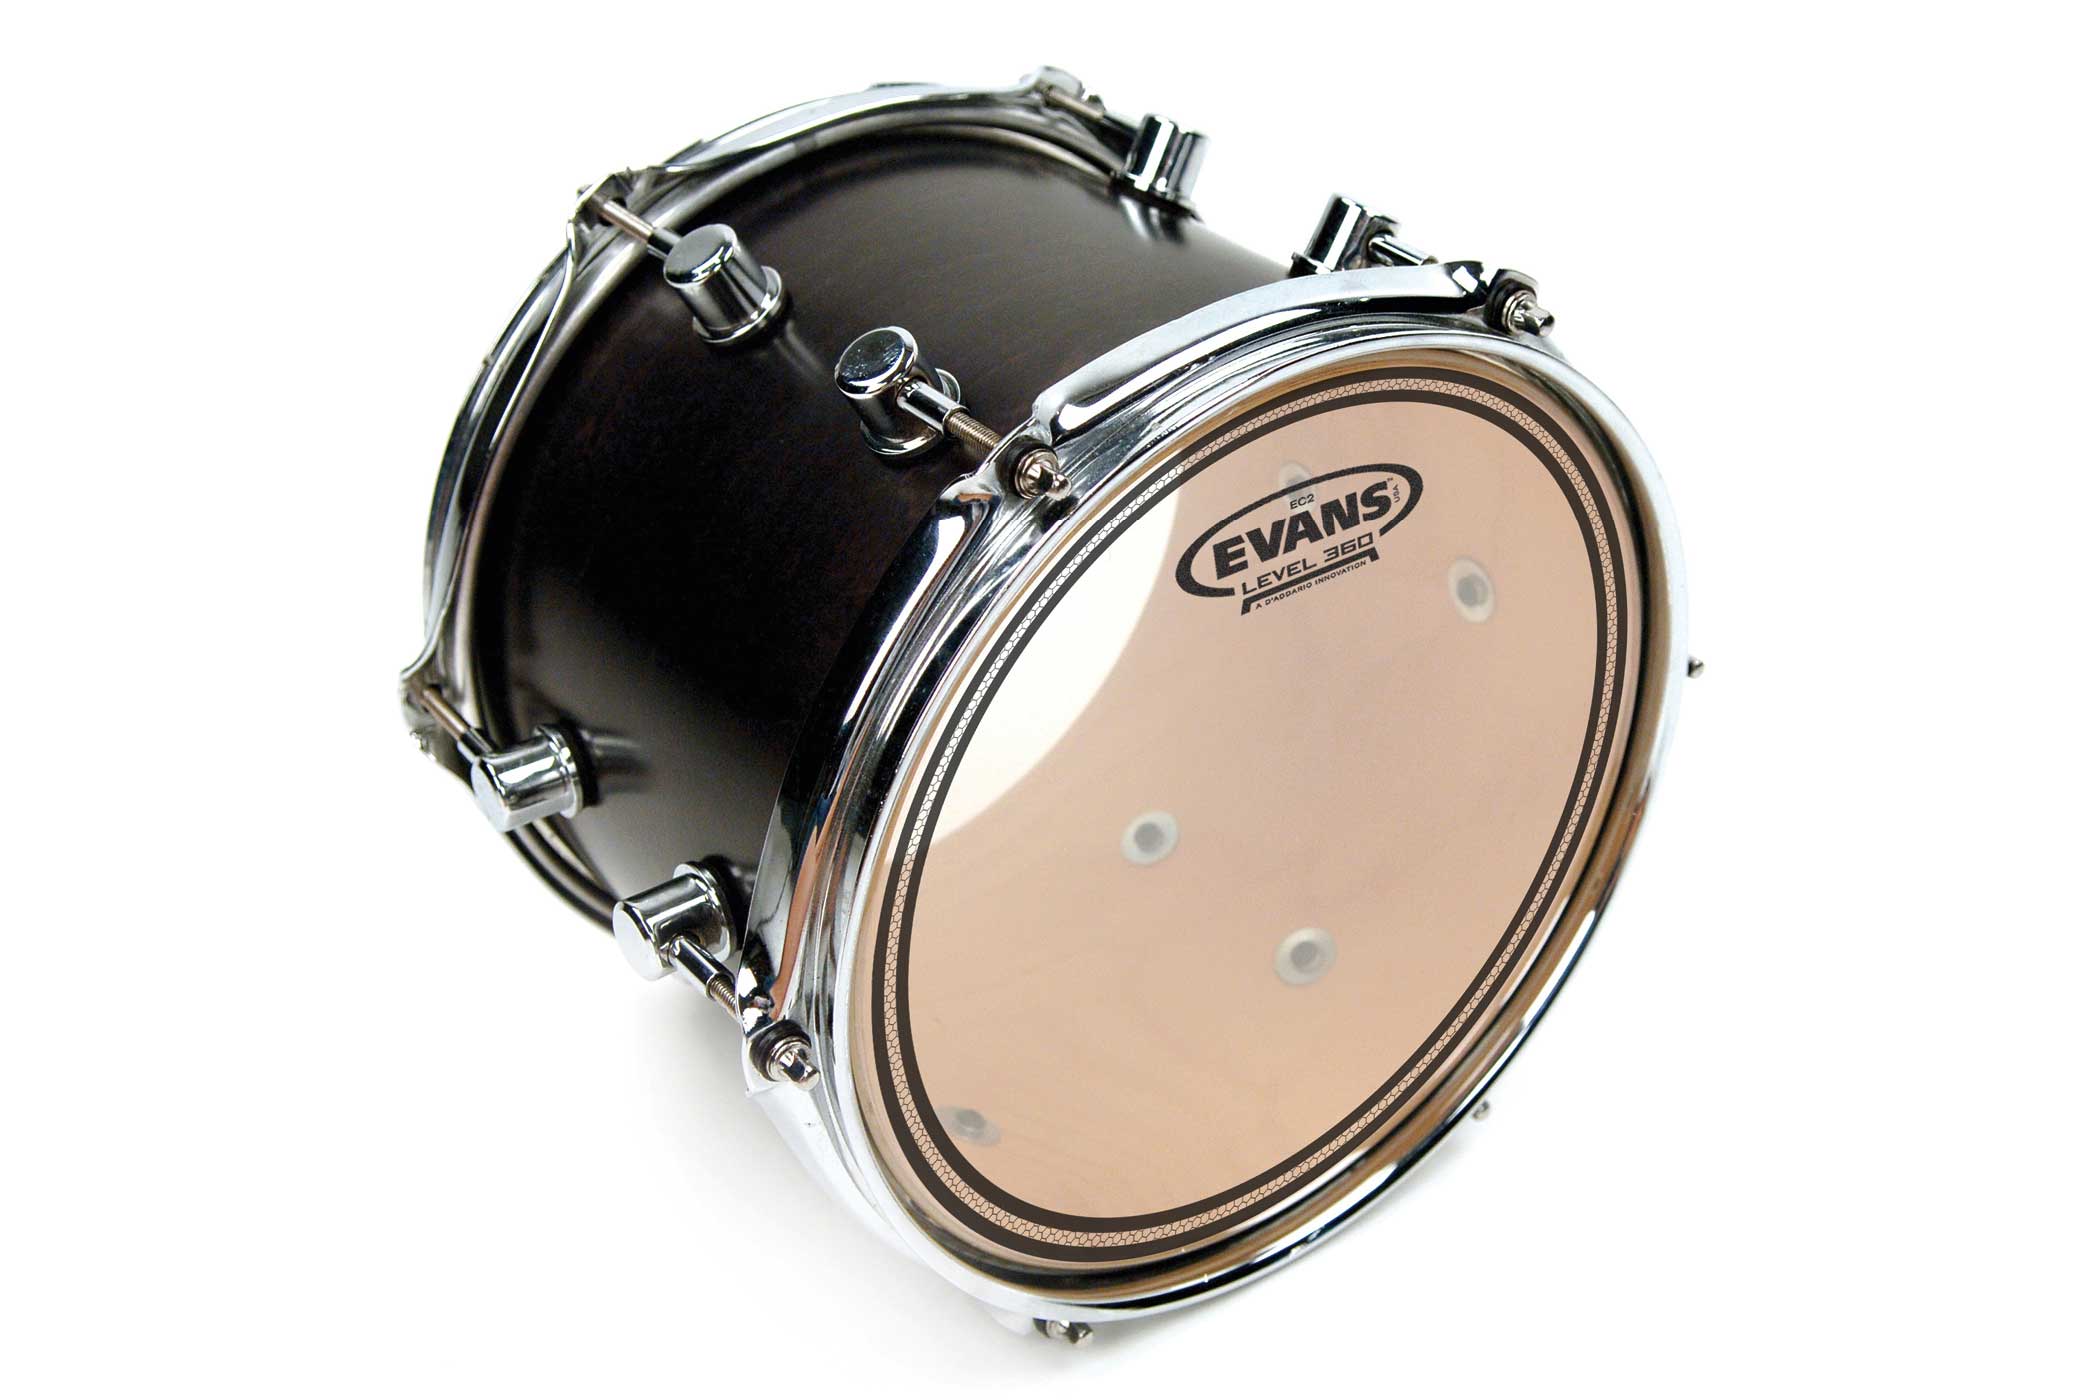 |
| Onyx head with black coating | Clear head with built-in dampening |
There are both clear and coated heads in single- and two-ply versions. They also differ in tone and durability. Single-ply heads sound longer and have more tone, but they usually don't last quite as long. Two-ply heads decay faster and have less tone, but they offer a bit more durability. A final major difference is heads that already have built-in dampening. If you want to produce a particularly short tone, this variant is a good choice. Not only is the fundamental tone of the drum shortened, but the so-called overtones are also reduced. Overtones vibrate in addition to the fundamental and are — as the name suggests — higher and brighter in sound. These can sometimes be perceived as disturbing and can be reduced with damped heads or other aids (see “Small helpers”).


 1")
 1")


Why choose session?
Items from our huge range of in-stock products are usually dispatched the same day!

Drum tuning
After you've learned the main differences between the heads, we can start with the actual tuning. With few exceptions this works the same for batter and resonant heads on every drum. On smaller drums you have fewer tension rods available, on larger drums more. Here we use a drum with eight tension rods, like on some 14-inch snares.

Begin by turning the rods around the drum with your fingers until you can't turn them any further by hand. In the picture you can see the order in which the tension rods are then tightened with the drum key.
Tightening in a cross pattern ensures the head seats evenly on the drum's hoop and doesn't sit crooked. Start with one full turn per rod until you return to the first one. In the second pass do only 1/2 turn, then 1/4 turn, and so on. This way you approach the desired tuning gradually. The tighter the head is stretched, the less you have to turn the rods to change the pitch.
Before you tighten a tension rod, tap the head right next to the lug with the drum key or a stick. This lets you hear the pitch produced by the tension of that single rod, not the overall pitch of the drum.
The drum will sound better the more similar the pitches at the individual tension rods are. How high or low these pitches are is again down to your taste and the style of music you play.
It doesn't make much difference whether you start with the batter or the resonant head. There are three possibilities for the relationship between the tunings of the two sides:
- The batter head is tuned higher than the resonant head: The tone will sustain longer and will drop lower during the decay. The resonant head vibrates a little later than the batter head and, because it is tuned lower, pulls the pitch down as it decays.
- The batter head is tuned lower than the resonant head: The tone will be shorter and will rise during the decay. The resonant head is tighter here and produces a higher pitch.
- The batter and resonant heads are tuned the same: Compared with the other two options the tone is louder, sustains longer and decays very cleanly. Because both heads produce the same pitch, the overall sound is louder and doesn't change pitch up or down.
 |  |
| too loose | adequately tensioned |
Since there's no absolute right or wrong in tuning, trust your ears and your taste. If you like the sound of your kit, it's probably well tuned. Of course we have a few tips to help you reach that goal quickly:
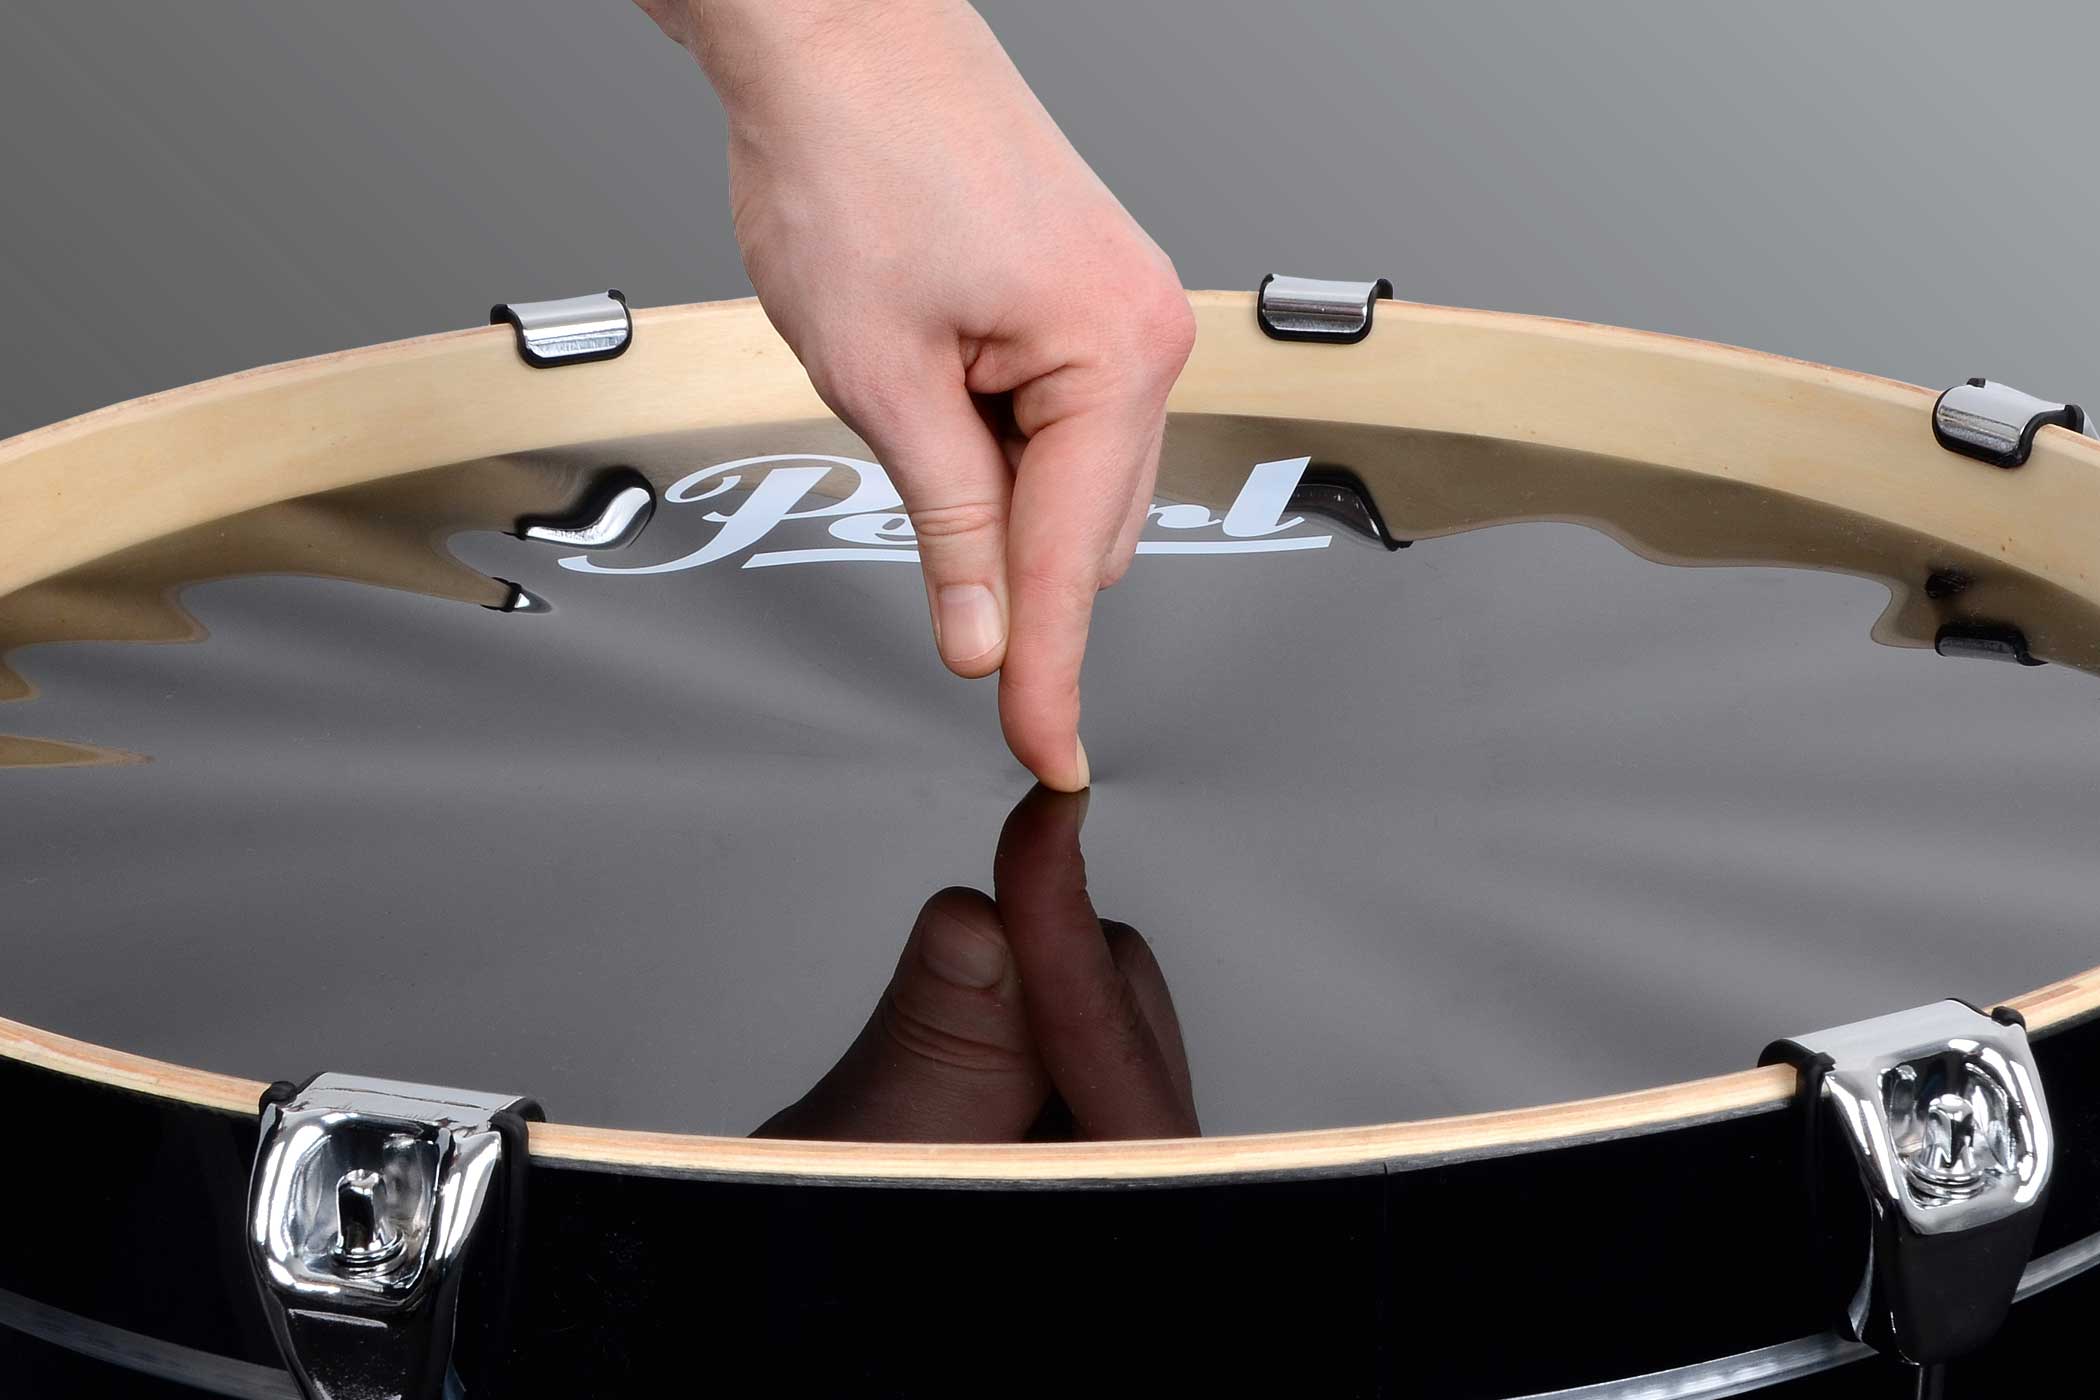
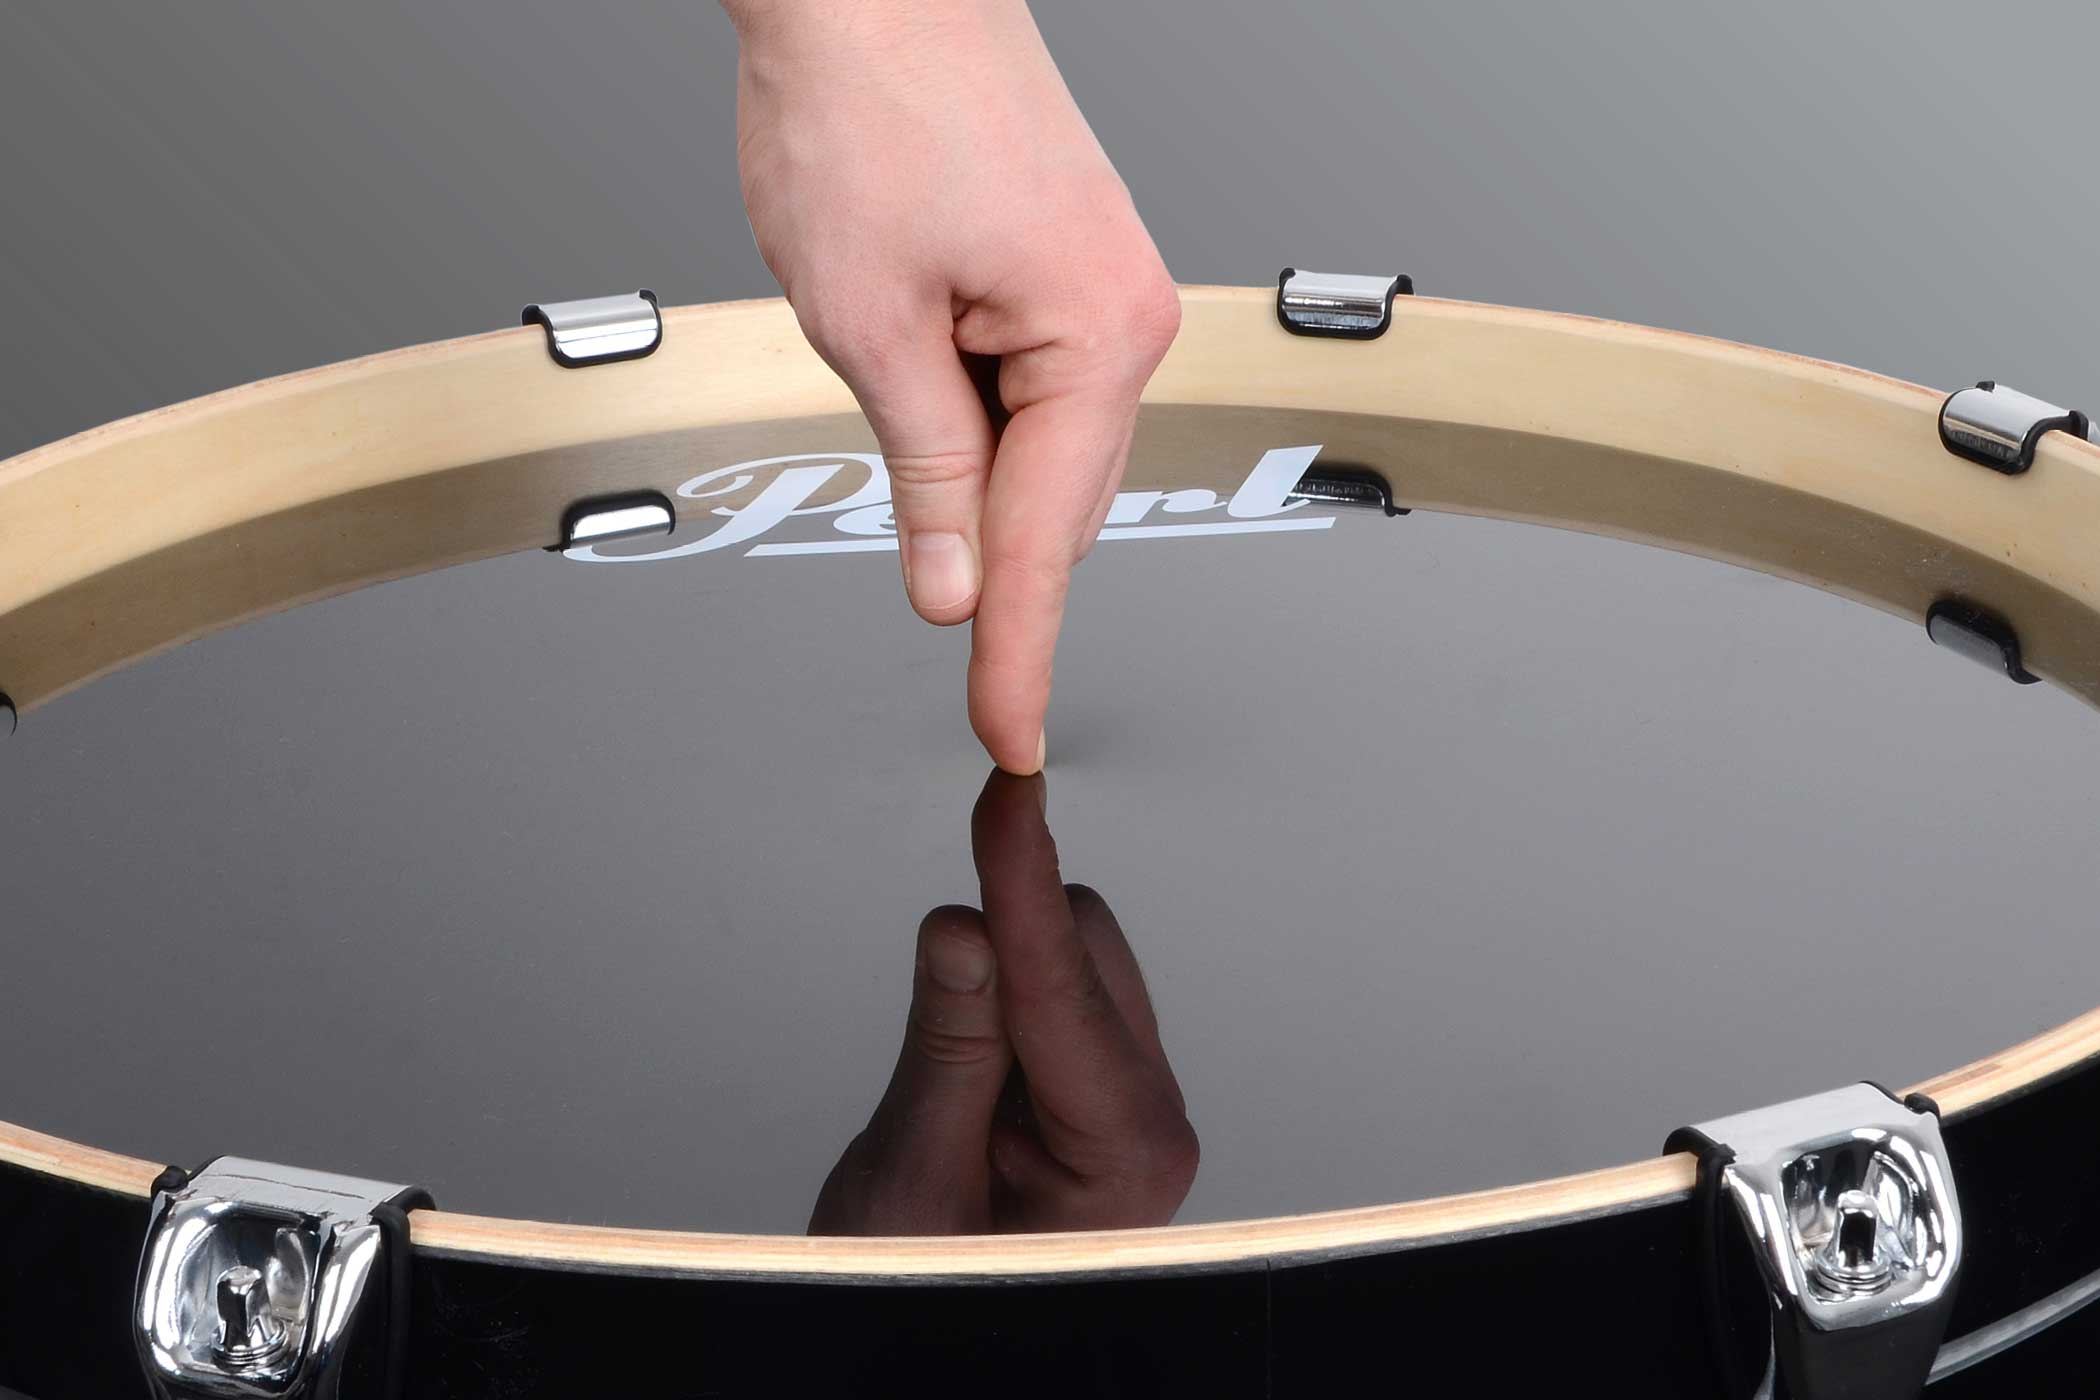
- None of your heads should be so loose that they wrinkle. Press with a finger in the centre of the head to find wrinkles around the edges.
- If you tension a head too much, the tone becomes extremely short and sounds as if it's been cut off. In that case loosen all the rods evenly.
- When tuning your toms, start with the lowest/largest and then proceed through the other toms to the smallest. You can do it the other way round as well, of course. But if you start with the smallest you may find you can't tune the largest as low as you'd like because the head would then be too loose.
- The bass drum doesn't necessarily have to be tuned to match the toms. Most drummers treat the bass drum as a separate instrument and tune it independently from the toms. Otherwise the relationship between batter and resonant head is the same as for the toms.


Particularities when tuning the bass drum
Because the beater hits the head with a lot of force, you can extend the head's lifespan by using a special protection sticker. To change the sound of the bass drum you can cut a hole in the resonant head. This hole also offers an advantage when you're on stage with your band: the sound engineer can place the microphone more easily at or even inside the bass drum, which helps achieve a fat sound. Caution: don't use a regular knife for this — it's dangerous for you and the head! There's a special hole cutter (port cutter) for this purpose that is easy to use and relatively safe for your head and your fingers. If you're unsure, you can also use our service and have us cut the hole into a newly purchased or self-supplied head. To prevent the hole from tearing you can reinforce it with special rings. This is not only practical and extends the life of the resonant head, it also looks very good. Of course you can have us carry out this fitting as well.
If you want to learn more about tuning the bass drum, we recommend our complementary guide: The perfect bass drum sound.
Useful aids for the perfect bass drum sound


Special notes when tuning the snare drum
On the underside of the snare, in addition to the resonant head, you have the snare wires. These are responsible for the snare's characteristic rattle. If you disengage them from the resonant head, the drum sounds like another tom. You only need to remove the snare wires when changing the resonant head; for tuning they can stay in place. First operate the throw-off on the side of the snare so the snare wires are loose. Then use a stick as a spacer between the snare wires and the resonant head so you only hear the head without the rattle. Warning: when tapping the head at the tension rods, please use only your fingers! The snare resonant head is usually very, very thin and a stick or drum key could damage it. You can tune the snare resonant head just like any other head. However, the head tension also affects the snare wire rattle. On a loosely tuned resonant head the wires rattle less, on a more tightly tuned head they rattle more. You can also adjust the snare wires themselves — use the adjustment screw on the throw-off to make them tighter or looser. The same applies here as for the resonant head: tighter tension = less rattle, looser tension = more rattle.
Other small helpers for drummers
There are many ways to influence the sound of your drum kit. Some of them revolve around damping. Many drummers use single-ply heads to get a lot of tone, but depending on the musical style may also want a short, snappy sound. Thanks to various damping systems you don't have to change the head right away:
Moongel and co. are small damping pads made of a special rubber that are placed on the heads. They come in different shapes, colours and sizes. They provide a shorter, slightly muted sound and can be removed at any time.
To create even more damping there are so-called E-Rings. These are plastic rings cut to the exact drum sizes. They have a larger contact area and therefore damp more strongly.
For the bass drum there are other damping options: some bass drum heads already have a damping system built in. The so-called EMAD head is supplied with two interchangeable foam rings which can be inserted depending on how much damping is required.
The bass drum is also often damped from the inside with a pillow or a blanket. If you don't have anything suitable, you can use the EQ Pad, for example. It is attached inside the bass drum with Velcro and presses against the batter head. On the hit it detaches slightly from the head so the sound doesn't disappear completely, then it falls back against the head to damp it. Damping is not a must — many drummers prefer the sound without damping. Try out what you like.
Dampers for drums and cymbals


